Skip to content
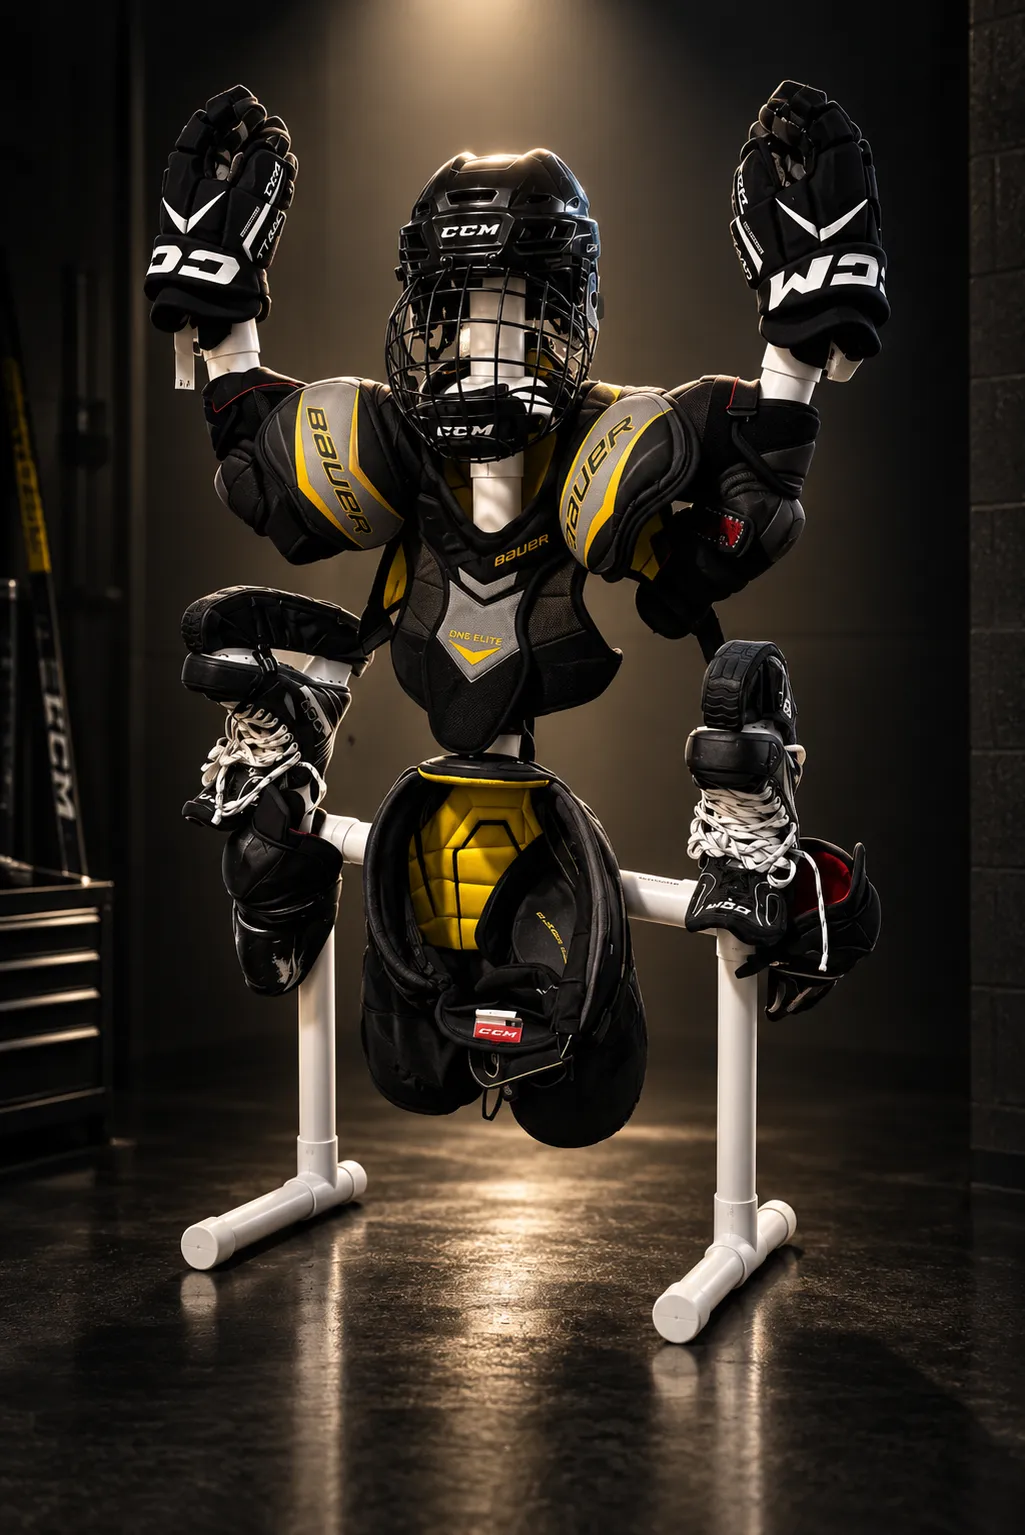
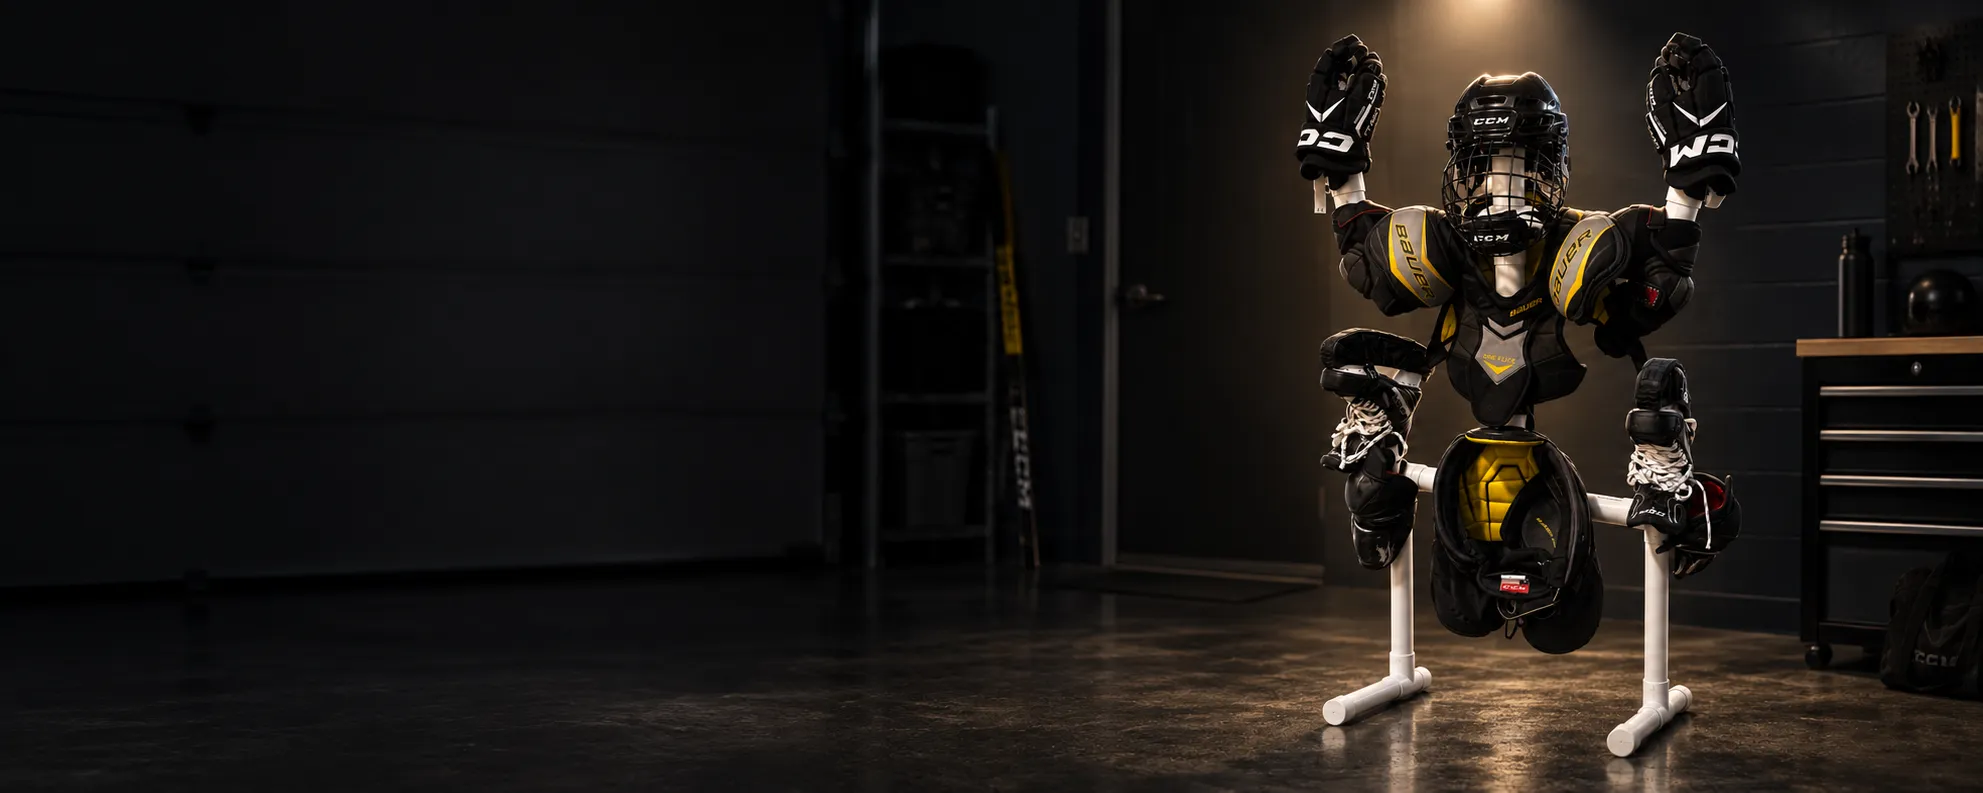
White PVC hockey drying stand loaded with black and yellow gear in a softly lit garage

The flagship build

Build your own hockey drying stand.

Dry wet hockey equipment in 3 hours. At 31" W × 18" D × 57" H, this stand gives your gear a place at home, then disassembles into a bag for out-of-town tournaments and family hotel stays.

Get the Assembly Guide

The design

At home or away, ready for the next game.

The stand can dry wet hockey equipment in 3 hours. Its two-rail base measures 31 inches wide by 18 inches deep, and the assembled stand is 57 inches tall.

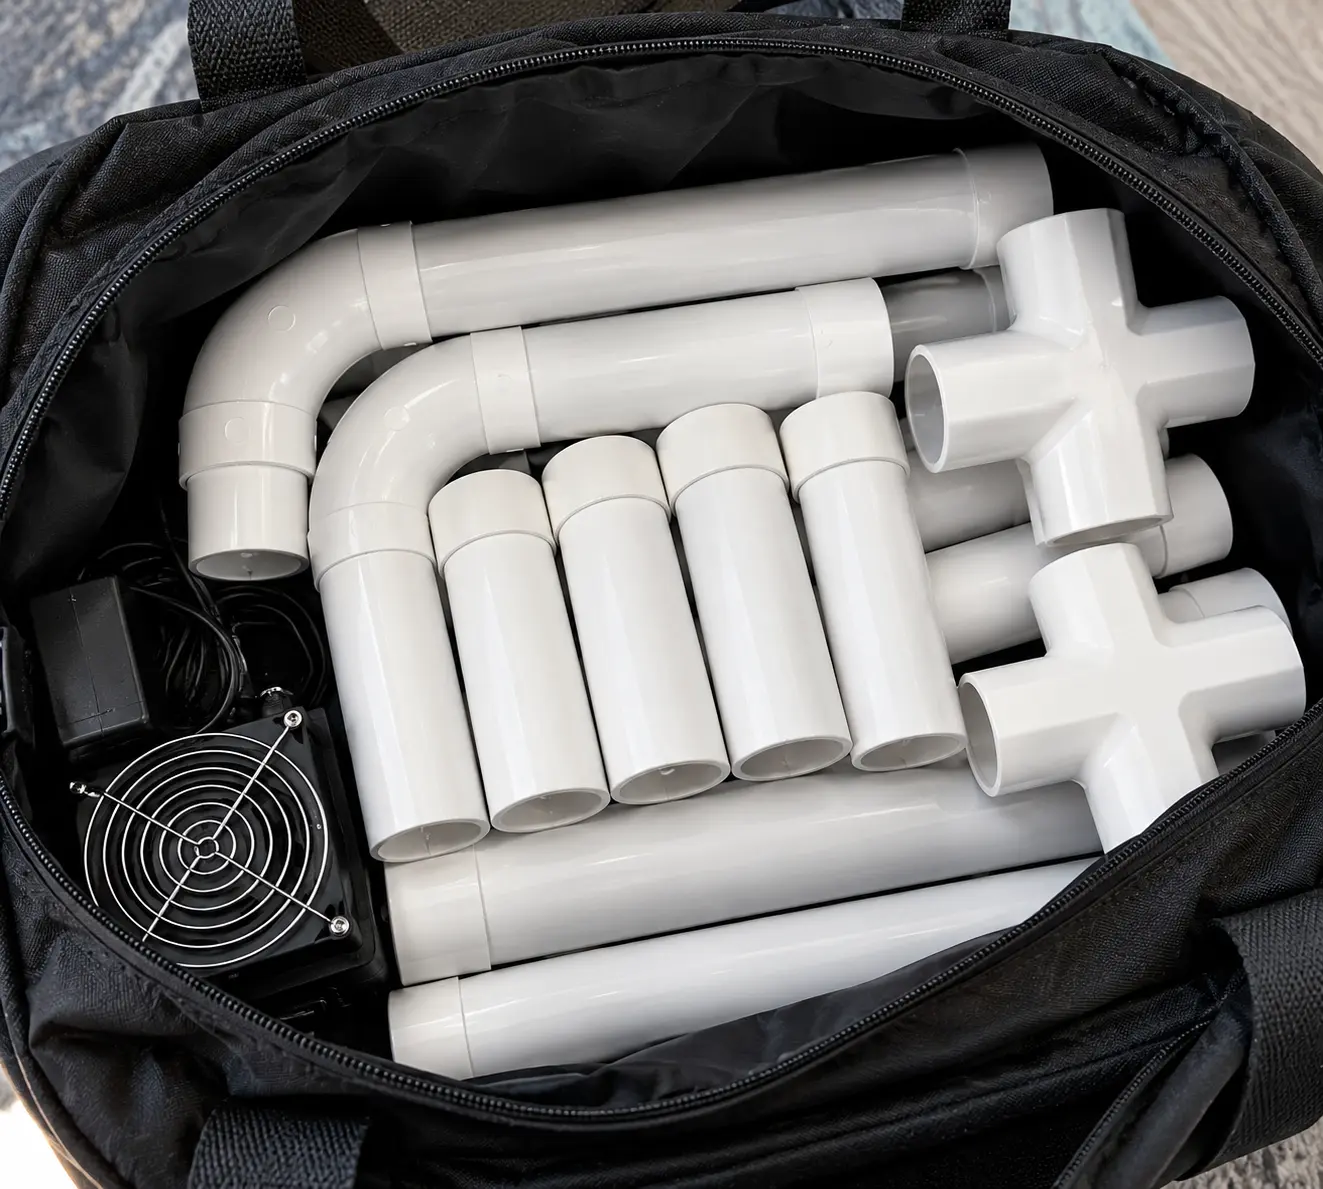
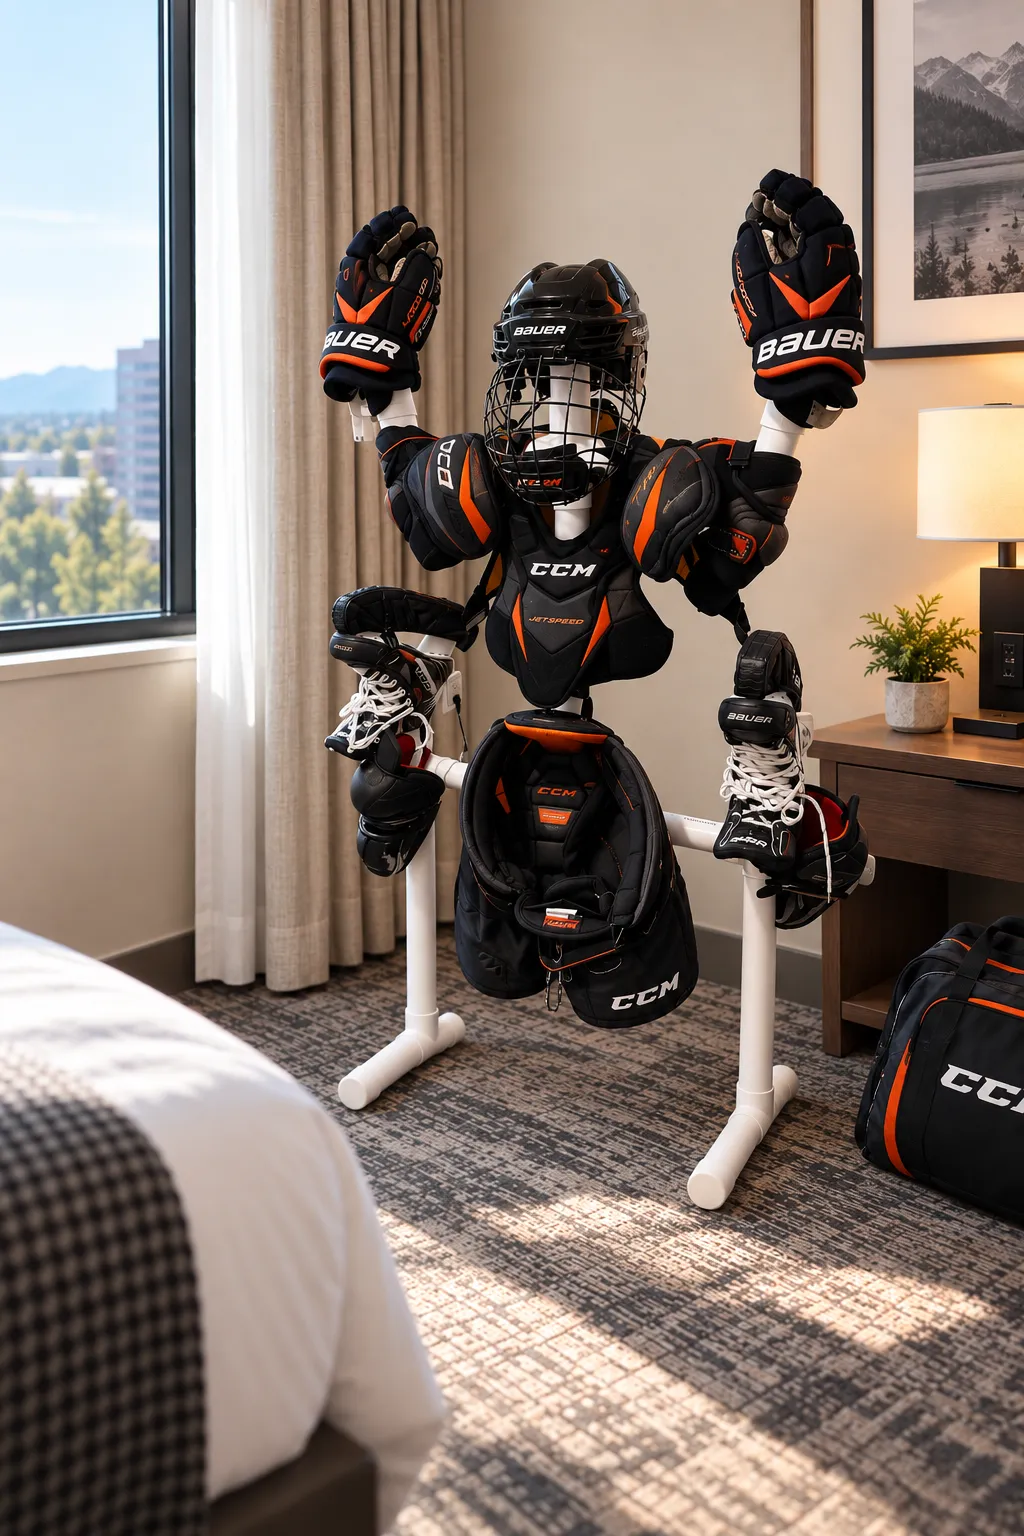
Heading out of town for a tournament? Disassemble it, pack the pieces into a bag, and take it along. It is easy for hockey families to travel with and set up during hotel stays.

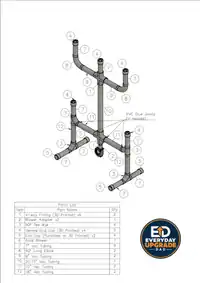
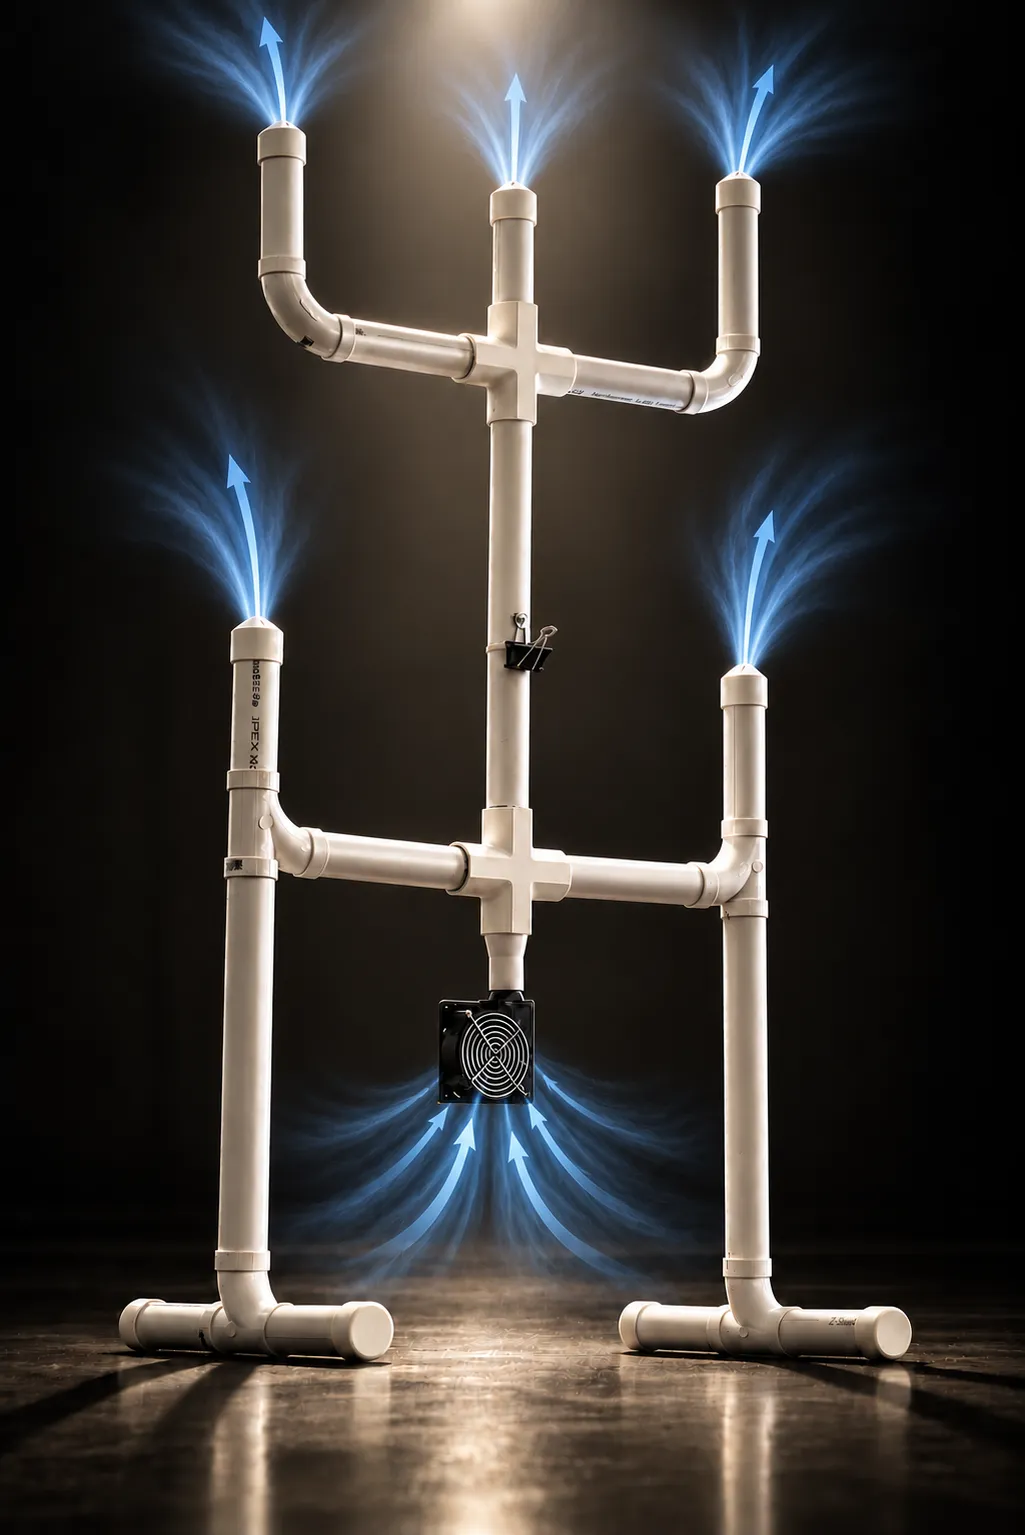
A 120mm blower connects below the lower 4-way fitting through a dedicated adapter. Five vented caps finish the gear supports. The guide includes the exact tubing cut lengths and numbered assembly drawing.

Hockey gear on the portable drying stand beside a window in a hotel room

At a glance

Drying time
3 hoursCan dry wet hockey equipment
Footprint
31" × 18"Width × depth
Height
57"Fully assembled
Stand weight
6.5 lbsEasy to carry for travel
Portable
Packs into a bagDisassembles for tournament travel

The $19 CAD price covers the digital package. Tubing, hardware, printing materials, and the blower are separate purchases.

How it fits together

From the base to the vented caps.

The guide includes illustrated assembly steps, a numbered drawing, and a parts list. Here is an overview of the main sections of the stand.

  • Freestanding base

    Two base rails use tee wyes, short tubing sections, and four closed end caps. Two lower uprights connect the base to the lower crossbar.

  • Lower supports and blower

    The lower printed 4-way fitting joins the side supports to the centre upright. A blower adapter connects the axial blower beneath this fitting.

  • Upper crossbar

    A second printed 4-way fitting forms the upper crossbar. Two long elbows turn its outer arms upward, with a third support rising from the centre.

  • Five vented ends

    The drawing places vented end caps on the three upper supports and the two lower side supports. Closed caps finish the four base ends.

Hockey drying stand with blue arrows illustrating airflow from the blower to the five vented caps

The shopping list

What you need to build it.

Buy the hardware, print the fittings, and add a blower. Exact tubing cuts are in the assembly guide.

Hardware store

Item / quantityEst. each
2 × Vacuum tubing (10 ft)$12.39
4 × 2" 90° tee wye$3.97
4 × 2" end cap(optional)$1.99
2 × 2" 90° long elbow$3.19
1 × PVC glue(optional)$10.29
Hardware total estimate$47.04 to $65.29

Range excludes or includes optional end caps and glue. Print the four end caps if you skip buying them.
Estimates in CAD, before tax. Prices may change.

Get the Assembly Guide

The digital package

Purchase Digital Assembly Guide and 3D Print Files

A clear reference for the stand, with illustrated instructions, an assembly drawing, and 3D print files in one package.

  • Easy-to-follow, 6-page assembly guide

    Illustrated instructions and a numbered assembly drawing to guide your build.

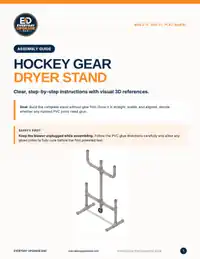
    Small preview of the hockey dryer assembly guide cover
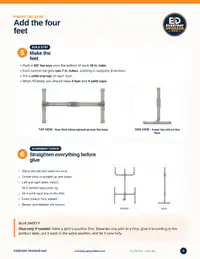
    Small preview of illustrated assembly steps and alignment checks
    Small preview of the numbered assembly drawing and parts list
  • Parts list and exact tubing cut lengths

    Know what you need and how to prepare each piece.

  • Bundled 3MF file for Bambu Studio

    The 3D printed components together in one Bambu Studio project.

  • Separate STL files

    Individual files for the 3D printed components to use in your preferred slicer.

$19 CAD

One-time digital purchase. Stand, gear, tubing, fittings, printing materials, and blower are not included.

Purchase Digital Assembly Guide and 3D Print Files
The assembled hockey drying stand holding a helmet, gloves, pads, pants, and skates

Before you build

A few details to confirm for your setup.

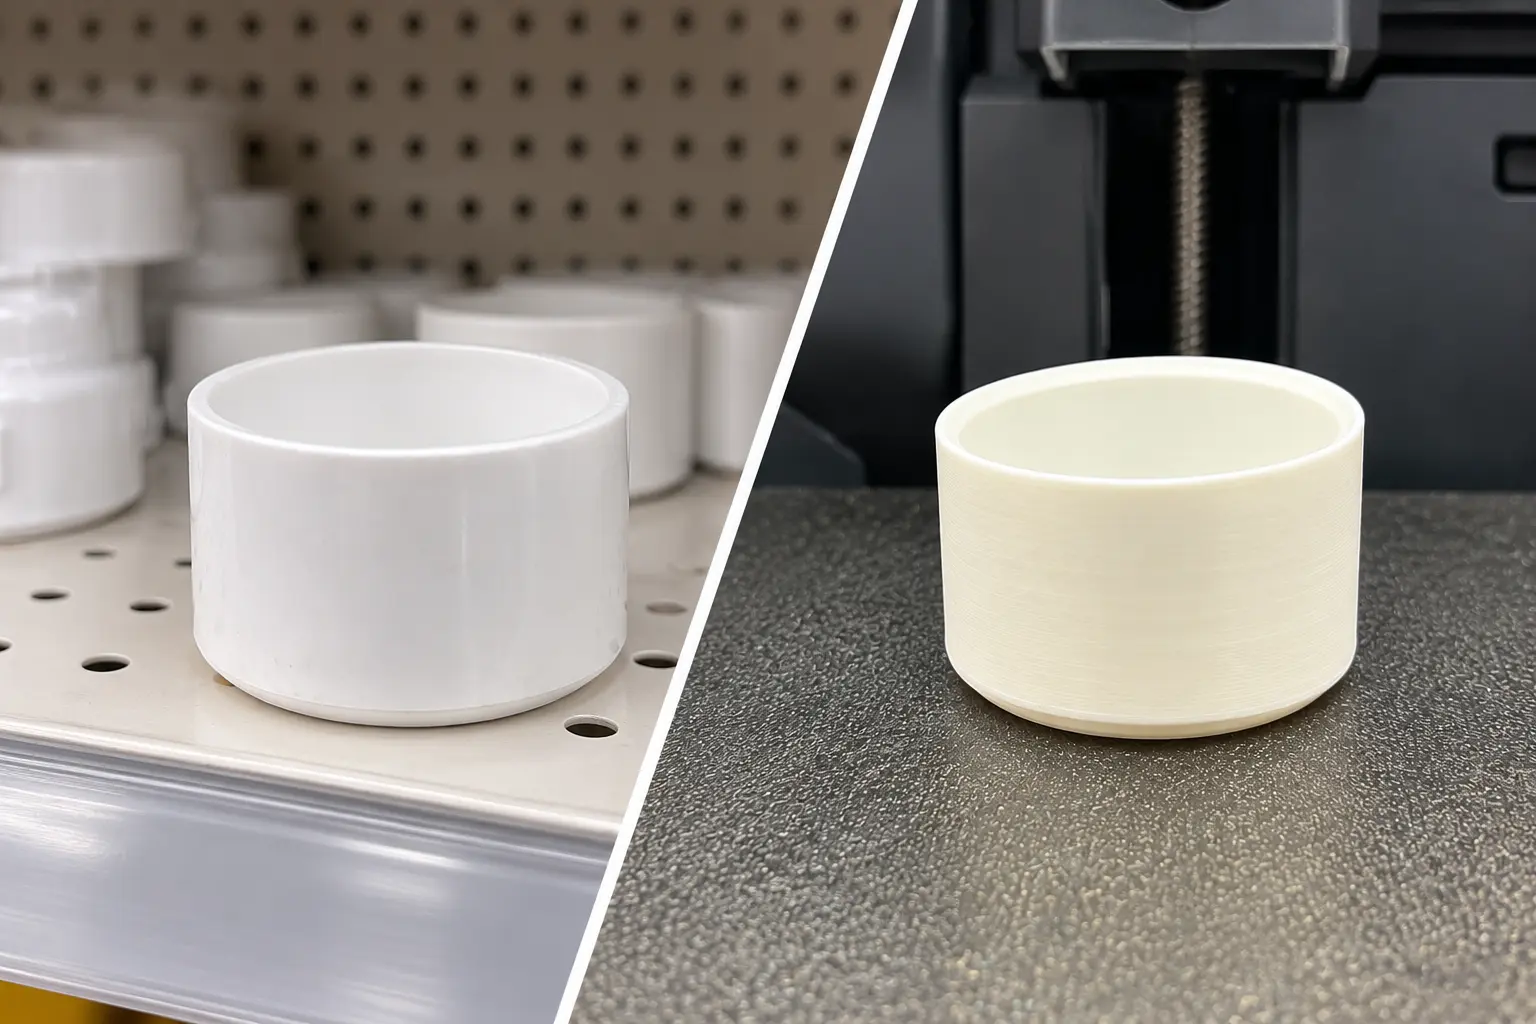
  • Store-bought end cap beside a 3D printed end cap

    Purchase or print the end caps

    You need four closed end caps for the base. Buy them at the hardware store or print them using the included STL files. Choose one option so you do not buy and print the same parts.

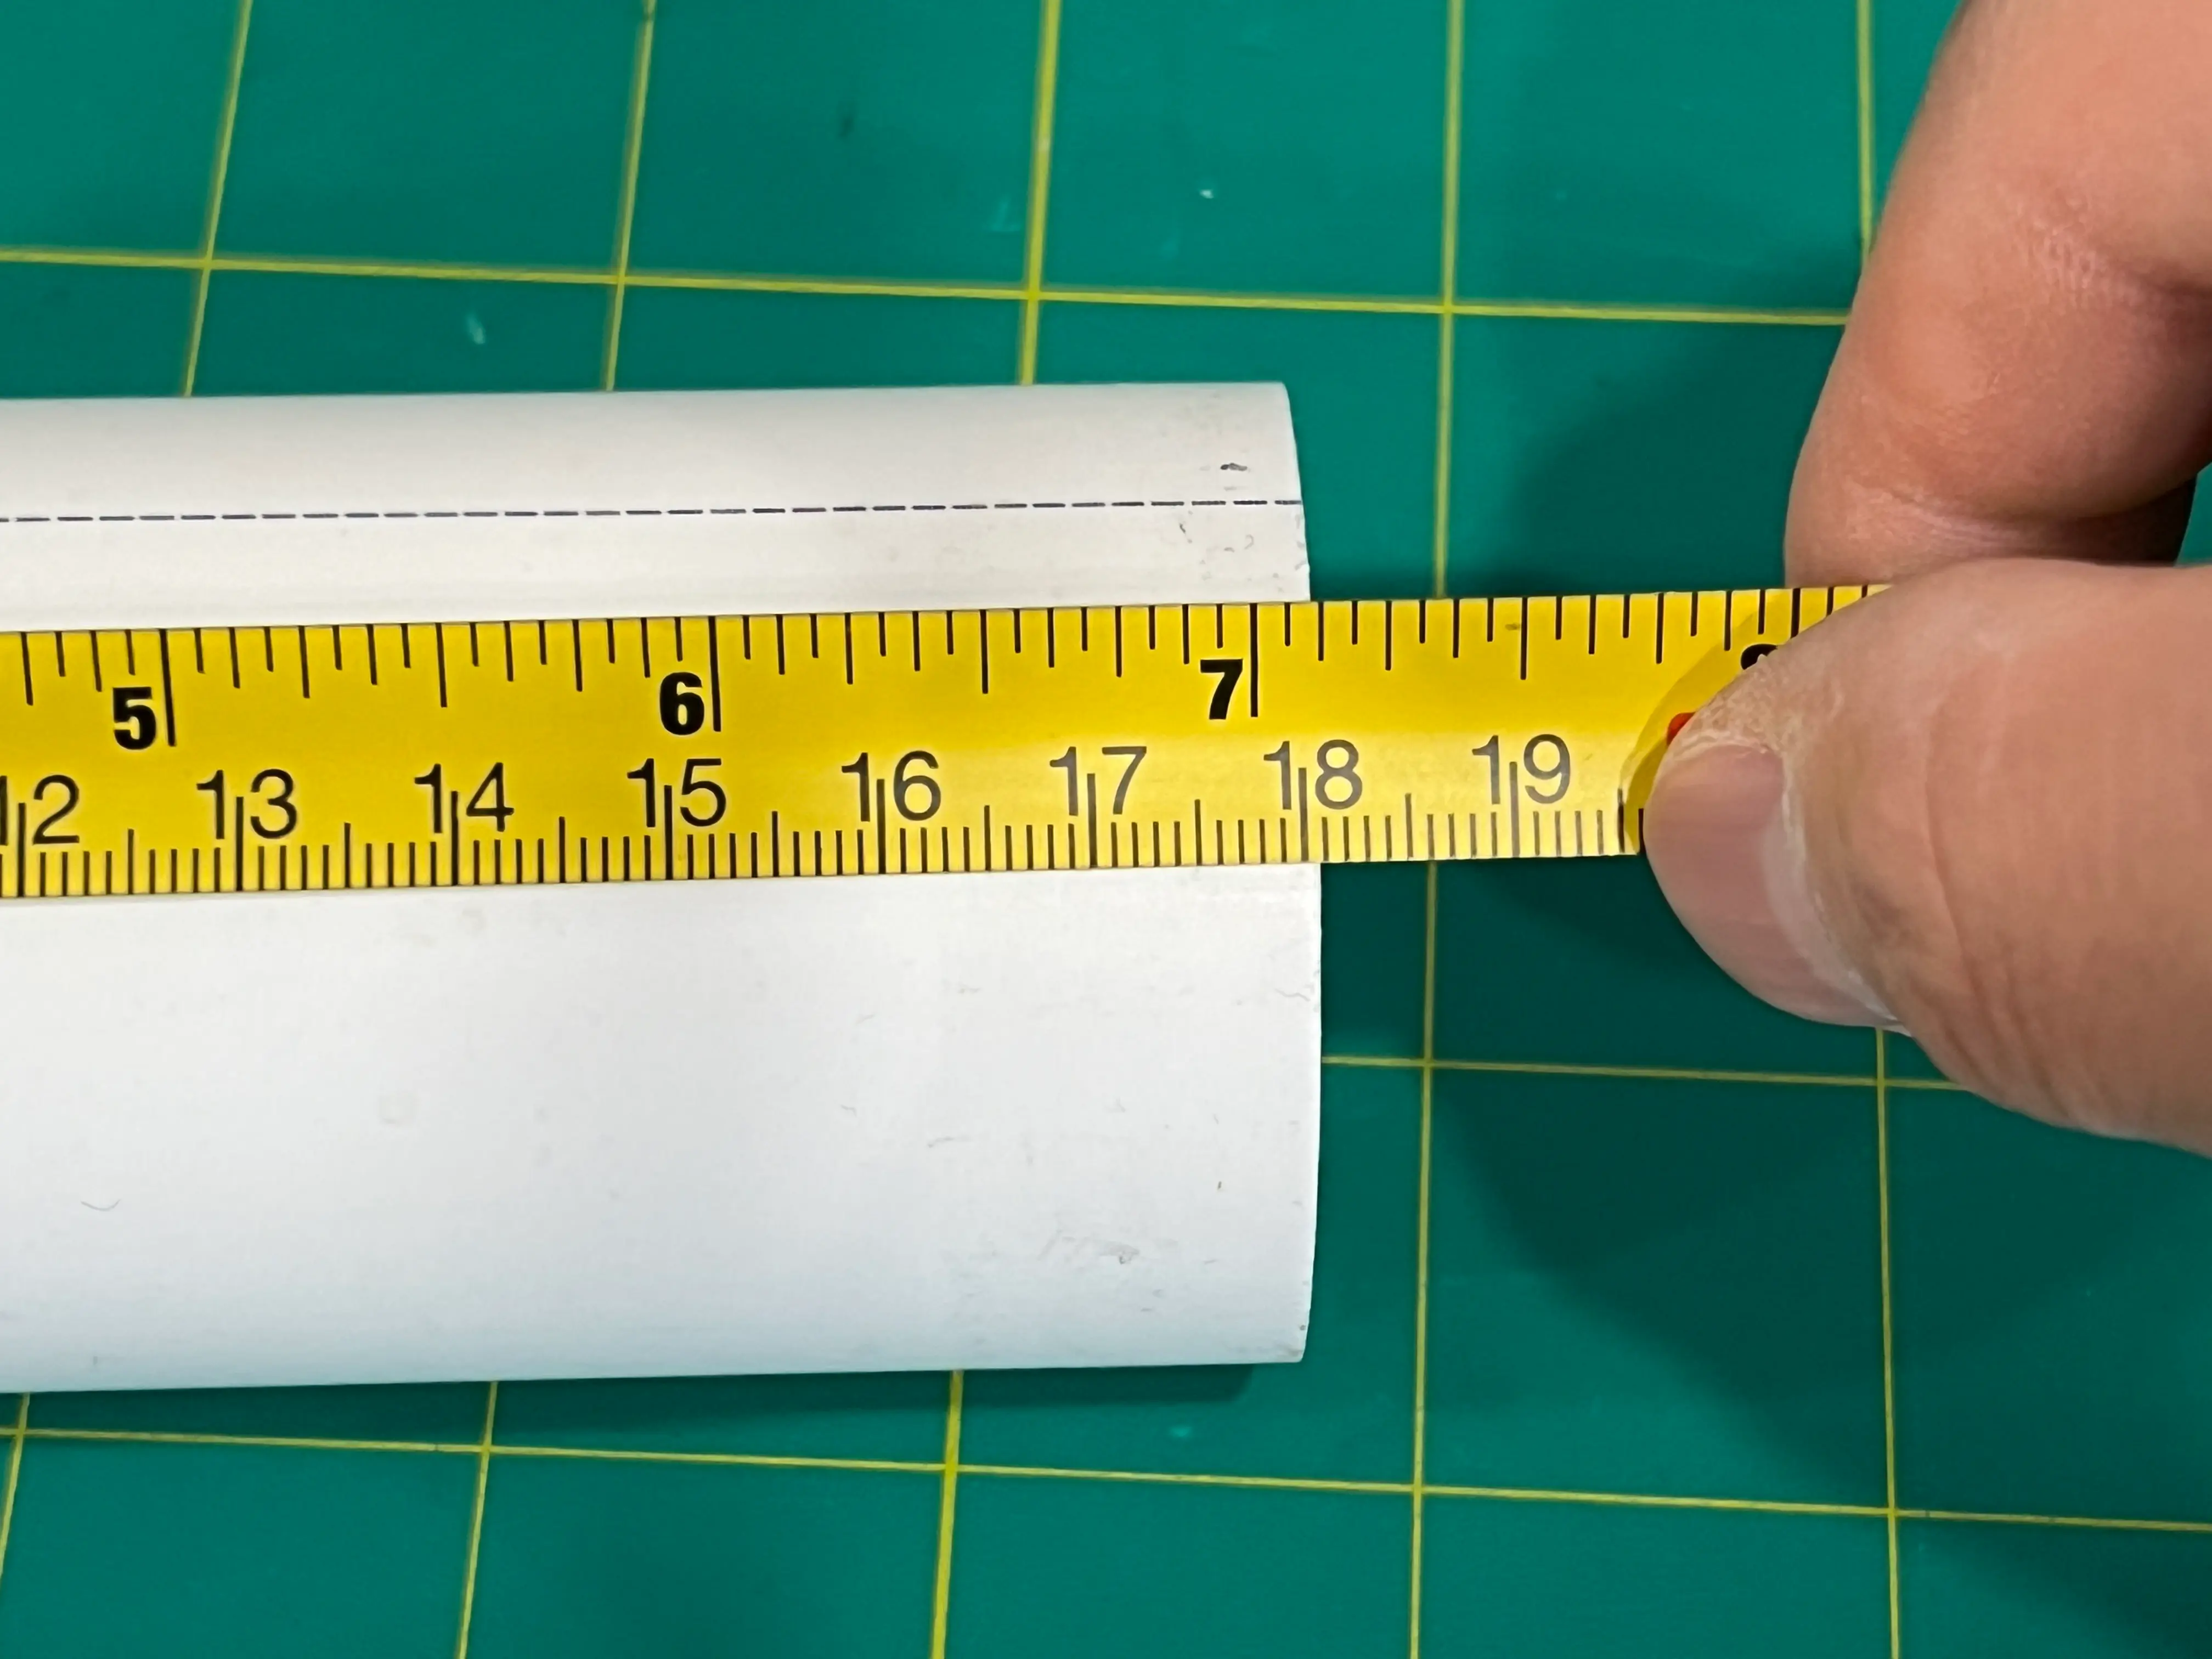
  • Measuring a section of tubing with a tape measure before cutting

    Get the exact cuts in the guide

    The shopping list tells you what to buy. The paid assembly guide includes the individual tubing cut lengths and numbered drawing so you can prepare the pieces and see where they fit.

  • Disassembled hockey dryer tubing, fittings, and blower packed into a travel bag

    Pack it for tournament weekends

    The stand disassembles to fit into a bag, making it easy for hockey families to take along to out-of-town tournaments and set up during hotel stays.